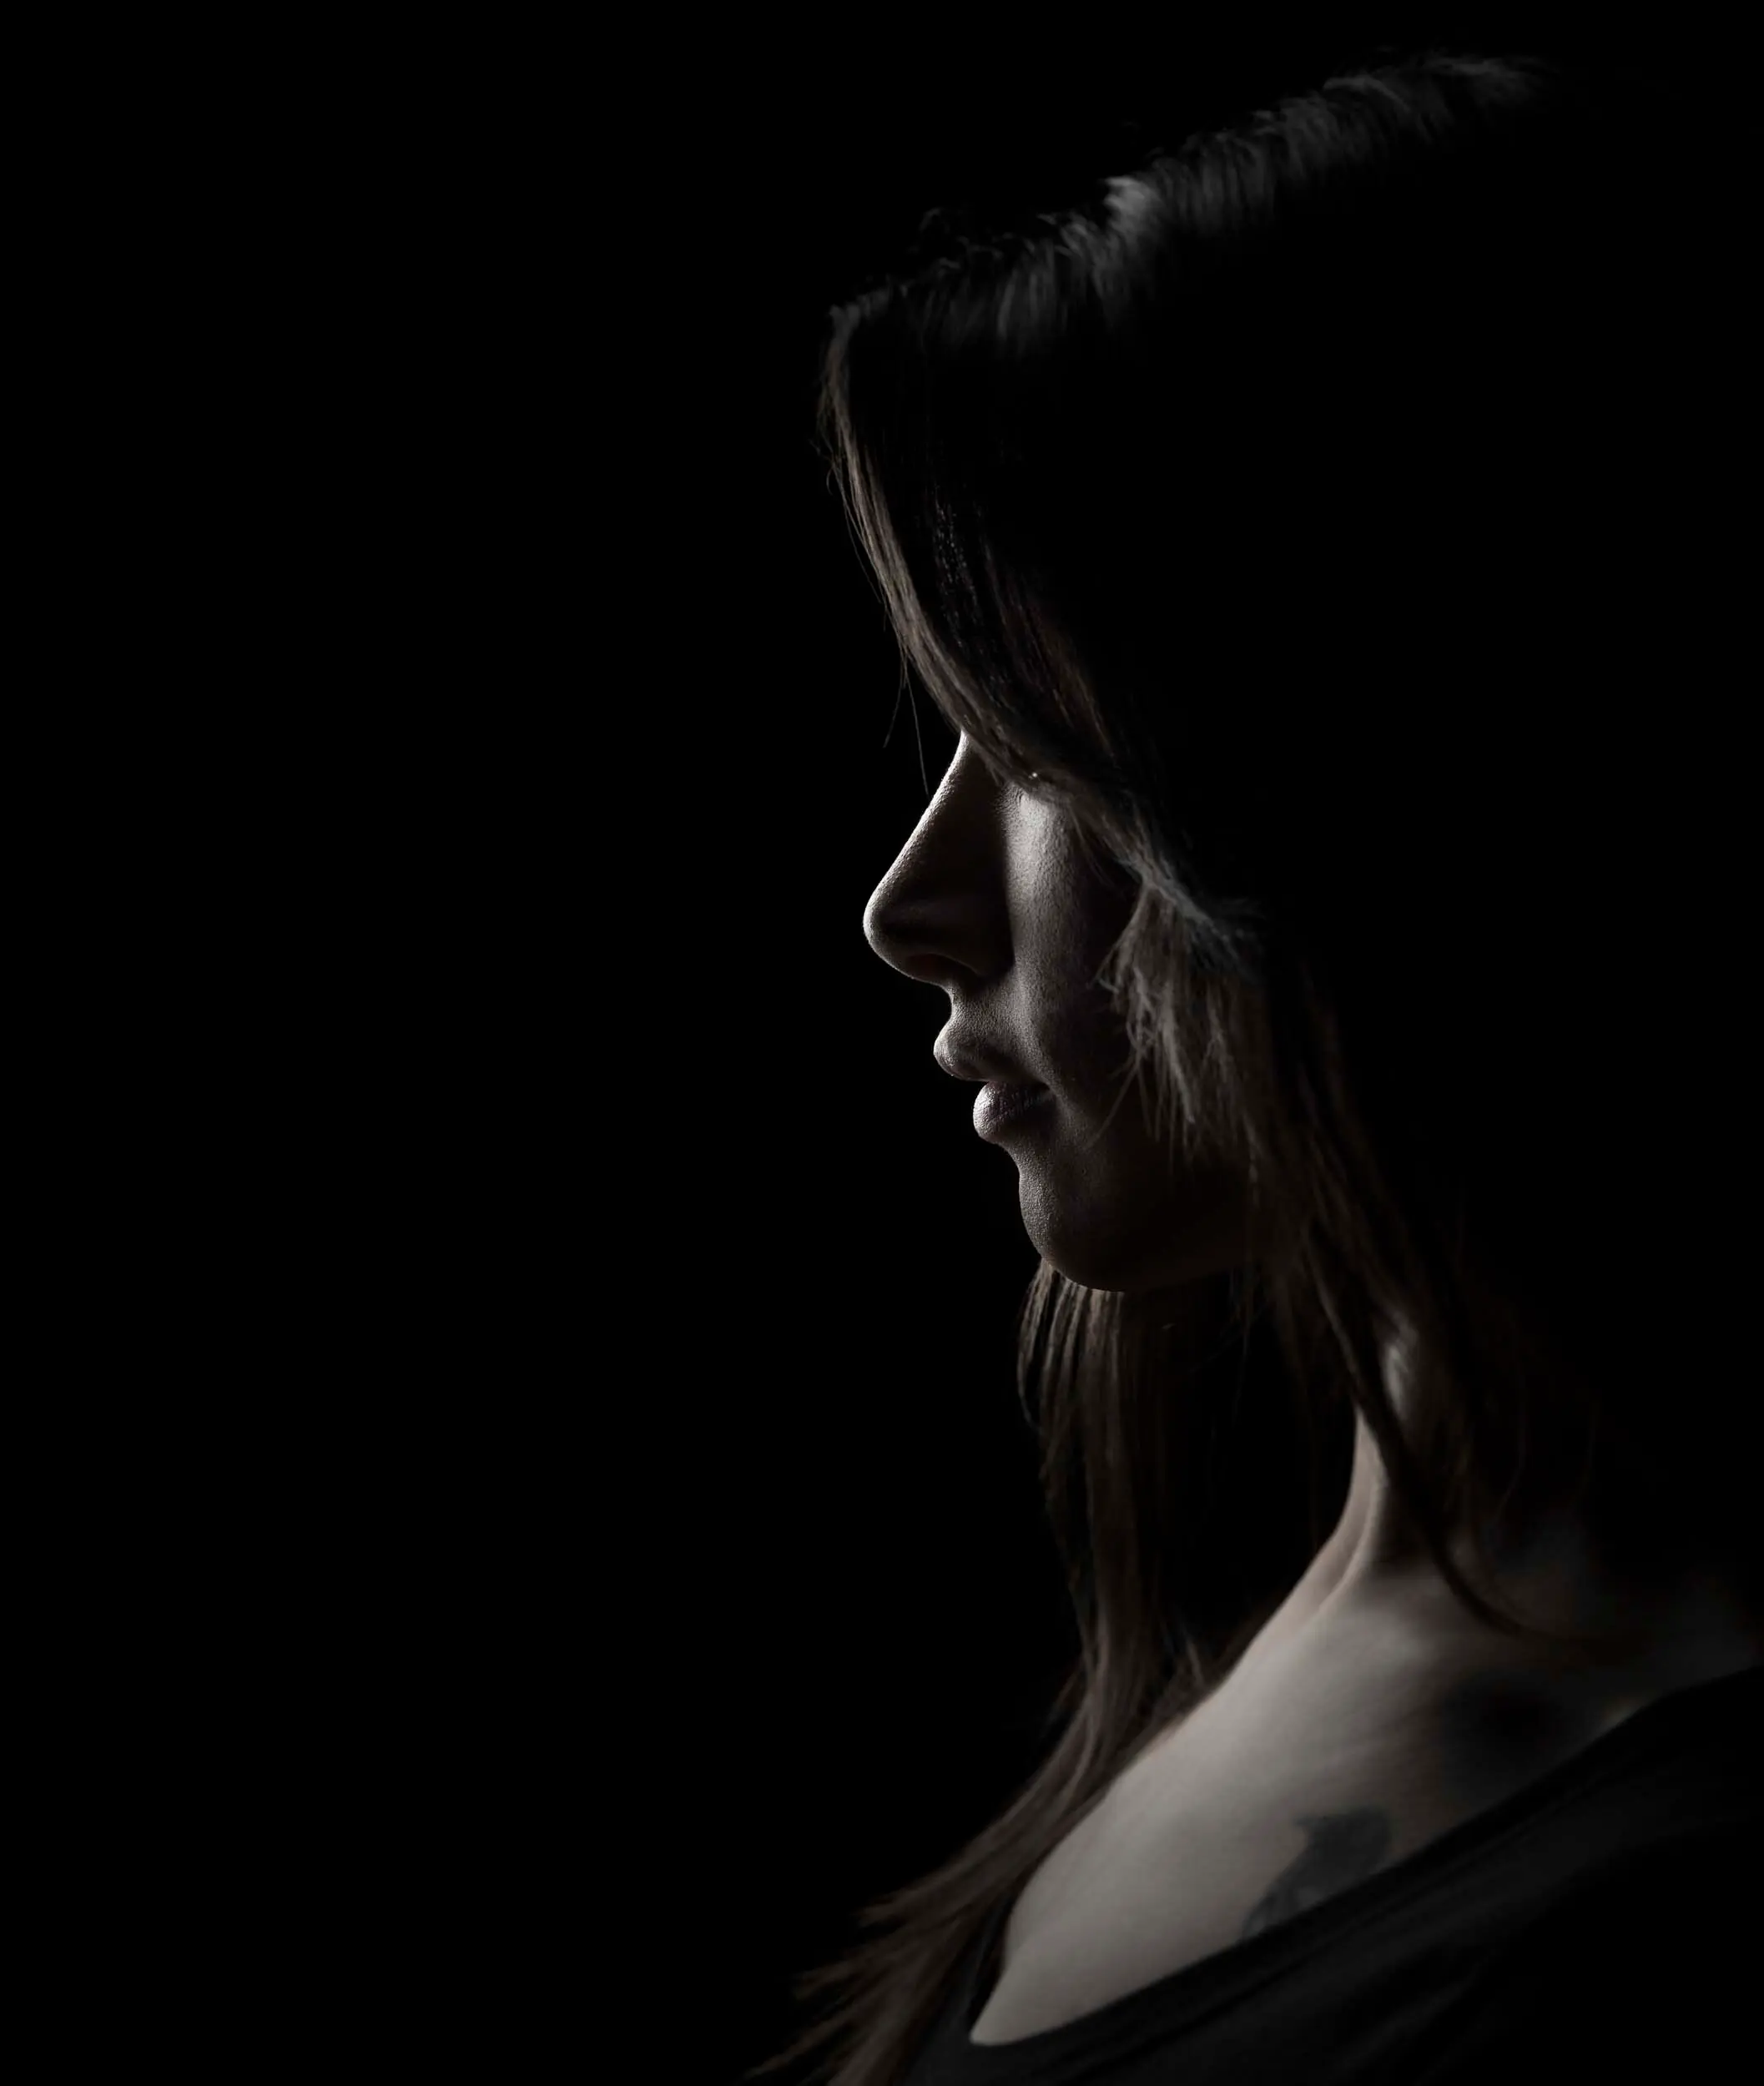
Black background photo editing is a popular and powerful technique used in photography and digital design to create striking visual effects and emphasize the subject of an image. By replacing or enhancing the backdrop with a solid black or dark-toned background, this editing style draws the viewer’s focus directly to the subject, making it appear more vivid and dramatic. The contrast between the bright, well-lit subject and the dark background can elevate the image, adding depth, mood, and sophistication.
This method is widely used in various fields, from portrait photography to product photography, fashion shoots, and artistic compositions. It allows photographers and designers to create visually clean, professional, and polished images while also offering creative freedom to manipulate lighting, shadows, and colors. Whether you’re working with high-end portraiture or showcasing a product in its best light, black background photo editing can transform an ordinary shot into an extraordinary visual masterpiece.
Why Choose a Black Background?
A black background can create a strong visual contrast, making your subject stand out. Here are a few reasons why photographers and digital artists often opt for a black backdrop:
- Enhanced Contrast: Black naturally provides high contrast, allowing the subject to “pop” against it.
- Focus on the Subject: With minimal distractions, the black background draws all attention to the main subject.
- Mood and Atmosphere: Black backgrounds evoke drama, mystery, and sophistication. They can be perfect for high-fashion portraits, product photography, or conceptual art.
- Timeless Look: A black background never goes out of style, offering a classic, polished aesthetic for various types of photography.
Techniques for Creating a Black Background in Photo Editing
There are multiple ways to edit a photo and incorporate a black background. Here are a few standard techniques used by photographers and digital artists:
1. Use of Layer Masks (Photoshop & GIMP)
One of the most effective ways to create a black background is to isolate the subject and place it on its own layer.
- Step 1: Open the image in Photoshop or GIMP.
- Step 2: Outline your subject using a selection tool (like the Quick Selection Tool or Pen Tool).
- Step 3: Once your subject is selected, create a mask that removes the existing background.
- Step 4: Add a new layer underneath the subject and fill it with black color.
- Step 5: If necessary, refine edges using tools like the Refine Edge Brush or Feathering for a seamless blend.
This technique works well for both portrait and product photography, as it allows for precise control over the subject and the background.
2. Removing the Background with the Magic Wand Tool (For Simplicity)
Suppose your subject already contrasts nicely with the background. In that case, you can quickly remove the existing background using tools like the Magic Wand or Select Subject feature in Photoshop or other editing programs.
- Step 1: Select the Magic Wand Tool and click on the background to select it. Adjust the tolerance to ensure a smooth selection.
- Step 2: Once the background is selected, press Delete or Cut to remove it.
- Step 3: Add a solid black layer behind the subject.
This method works best when the subject is clearly distinguished from the background, allowing for a quick and straightforward edit.
3. Using Gradient Effects
For more dynamic effects, you can use gradients to transition from black to another color or a subtle shade of gray. This approach can give your photo a more three-dimensional, atmospheric look.
- Step 1: Create a new layer underneath your subject.
- Step 2: Use the Gradient Tool to fill this layer with a smooth gradient that fades from black to transparent or another colgr.
- Stent’ss: Adjust the gradient’s angle or intensity to match the desired mood or lighting effect.
Gradient backgrounds can add depth and drama, particularly for studio portraits or fashion photography.
4. Enhancing Shadows for a Black Background Look
Sometimes, a black background is achieved not by replacing the backdrop entirely but by enhancing shadows in the original image. For instance, a vital light source can cast deep shadows that make the background appear darker or even black in post-processing.
- Step 1: Increase the contrast and adjust the Shadow/Highlight settings in Photoshop or Lightroom.
- Step 2: Use the Dodge and Burn tools to deepen shadows in the areas that you want to appear black.
- Stect’ ss Enhance the subject’s lighting to maintain the focus while the background fades to a rich black.
This method is particularly effective for creating a dramatic, studio-style look with soft lighting that adds a professional touch to your photos.
May you also like it:
Dark Lightroom Presets Download
Top 100+ Lightroom Presets Free Download
New Trending Lightroom Presets File
Tips for Better Black Background Photo Editing
Here are some additional tips to help make your black-background photo editing even more effective:
1. Fine-tune Lighting
A black background tenant’s absorbs light, so it’s essential to ensure your subject is well-lit, especially for portrait photography. Use soft, diffused lighting to highlight the contours of your subject and avoid harsh shadows that might appear unnaturally.
2. Pay Attention to Edges
When replacing a background with a black one, make sure the edges of your subject are clean and sharp. Soft or frayed edges can break the illusion and make the image look poorly edited. Use feathering or refined edges to create a seamless transition between the subject and the black background.
3. Experiment with Color and Contrast
A black background is the perfect canvas to play with color and contrast. Consider adding selective color or playing with gradients for more dynamic effects. You can also incorporate some colored lighting to enhance the mood or tone of the photo.
4. Use Vignetting for Focus
A vignette effect can help draw attention to the subject and create a more polished, professional look. You can add a subtle vignette effect to the edges of the image to emphasize the center and help the subject stand out against the black background.
5. Sharpen the Image
Black backgrounds can sometimes make an image look soft, so after your editing, apply some subtle sharpening to ensure that your subject maintains fine details. Be cautious, though, as too much sharpening can lead to unwanted noise.
Creative Uses of Black Backgrounds
Black backgrounds are versatile and can be used creatively in many different fields of photography and design:
- Product Photography: Black backgrounds are commonly used in product photography to create high contrast and make the product the focal point.
- Portrait Photography: The stark contrast of black backgrounds makes portraits feel dramatic and cinematic.
- Fine Art Photography: Artists use black backgrounds to evoke mood, creating a minimalist or conceptual aesthetic.
- Food Photography: A black background can help bring out the vibrant colors and textures of food, creating an elegant and modern look.
Black Background Photo Editing Download


Frequently Asked Questions
Do I need to use a black background for all my photos?
No, the choice of background depends on the mood and style you want to convey. While black backgrounds work well for emphasizing subjects and creating contrast, other backgrounds, such as white, colorful, or natural settings, can be more appropriate for different themes and messages.
Can I create a black background effect without a studio setup?
Yes, you can achieve a black background effect even without a professional studio setup. By shooting in a controlled environment with good lighting and editing the image afterward using photo editing software, you can create the illusion of a black background. Alternatively, shooting against a dark wall or using black fabric as a backdrop can help achieve a similar result.
Does black background photo editing affect image quality?
If done correctly, black background editing should not negatively impact the image quality. However, poorly executed edits can lead to unnatural-looking outlines, harsh shadows, or pixelated edges. To avoid this, ensure that the selection process is clean and the lighting on the subject is balanced.
How do I make sure the subject looks natural against a black background?
Focus on proper lighting to ensure the subject looks natural. The subject should be well-lit, ideally with soft, diffused light to avoid harsh shadows. Additionally, consider using a subtle gradient effect in the background rather than a solid, flat black to add some depth and prevent the su””ect fro””appearing “cut out.”
Can I use black background photo editing for product photography?
Absolutely! Black backgrounds are widely used in product photography to make the product pop. The dark background creates a clean, professional look and ensures that the product is the focal point. It’s beneficial for high-end products or when shooting items with reflective surfaces, as it helps highlight their details.
What is black background photo editing?
Black background photo editing is the process of replacing or enhancing the background of an image with a solid black or dark-toned backdrop. This technique helps to emphasize the main subject by creating contrast and focusing the viewer’s attention on it, often resulting in a more dramatic and polished appearance.
Why do photographers use black backgrounds?
Black backgrounds are commonly used to create a sense of depth, highlight the subject, and reduce distractions. By removing any background clutter, the subject becomes the primary focus. This technique is often used in portrait photography, product photography, and fashion shoots, where clarity and simplicity are essential.
Can I use a black background for any photo?
While black backgrounds can be used for almost any type of photography, they are particularly effective in portrait, product, and still-life photography. However, images with many bright, colorful elements in the background might not always be the best choice, as they can create a stark contrast that detracts from the overall image.
How do I edit a photo with a black background?
To create a black background effect, you can use photo editing software like Adobe Photoshop and Lightroom or even online editors like Canva or Fotor. The basic steps typically include selecting the subject, isolating it from the background, and then either removing the original background or filling it with a solid black color.
Conclusion
Black background photo editing is a versatile and powerful tool that can elevate the impact of your images. By using a dark backdrop, you can draw the viewer’s attention directly to the subject, creating a dramatic, clean, and professional effect. Whether you’re working with portraits, products, or creative compositions, this technique allows you to highlight details, enhance lighting, and produce striking visuals with minimal distractions.
With the right software and a bit of practice, you can seamlessly incorporate black backgrounds into your workflow, transforming ordinary photos into high-quality, visually engaging pieces. However, like any editing technique, it should be used thoughtfully, considering the subject, lighting, and overall composition to ensure the result is both balanced and natural.
